


Reminders & Notifications
Purpose:
The Reminders & Notifications feature helps users stay informed and take timely action by highlighting important records to notify themselves (Reminders) or sending in-app alerts to other users (Notifications). These alerts ensure that no critical activity, update, or deadline is missed within the platform.
Reminders are used to set personal in-app alerts for yourself. These can be configured for:
- Upcoming tasks, meetings, or follow-ups
- Important dates (e.g., contract expiry, renewal dates, etc.)
- Time-sensitive deliverables
Notifications are used to send in-app alerts to other users whenever:
- A record is updated (e.g., lead status changes from ‘New’ to ‘Won’)
- A specific field value changes (e.g., expected revenue exceeds the threshold)
- A key event occurs (e.g., support ticket escalated, task assigned, due date approaching)
You’ll receive the alert as a pop-up notification inside the platform at the scheduled time.
Reminders:
Stay proactive with important actions by setting timely reminders based on date-related fields within your objects.
What’s New:
- Setting reminders highlights the record in your chosen color, helping you easily identify it among others and ensuring you never miss a critical deadline.
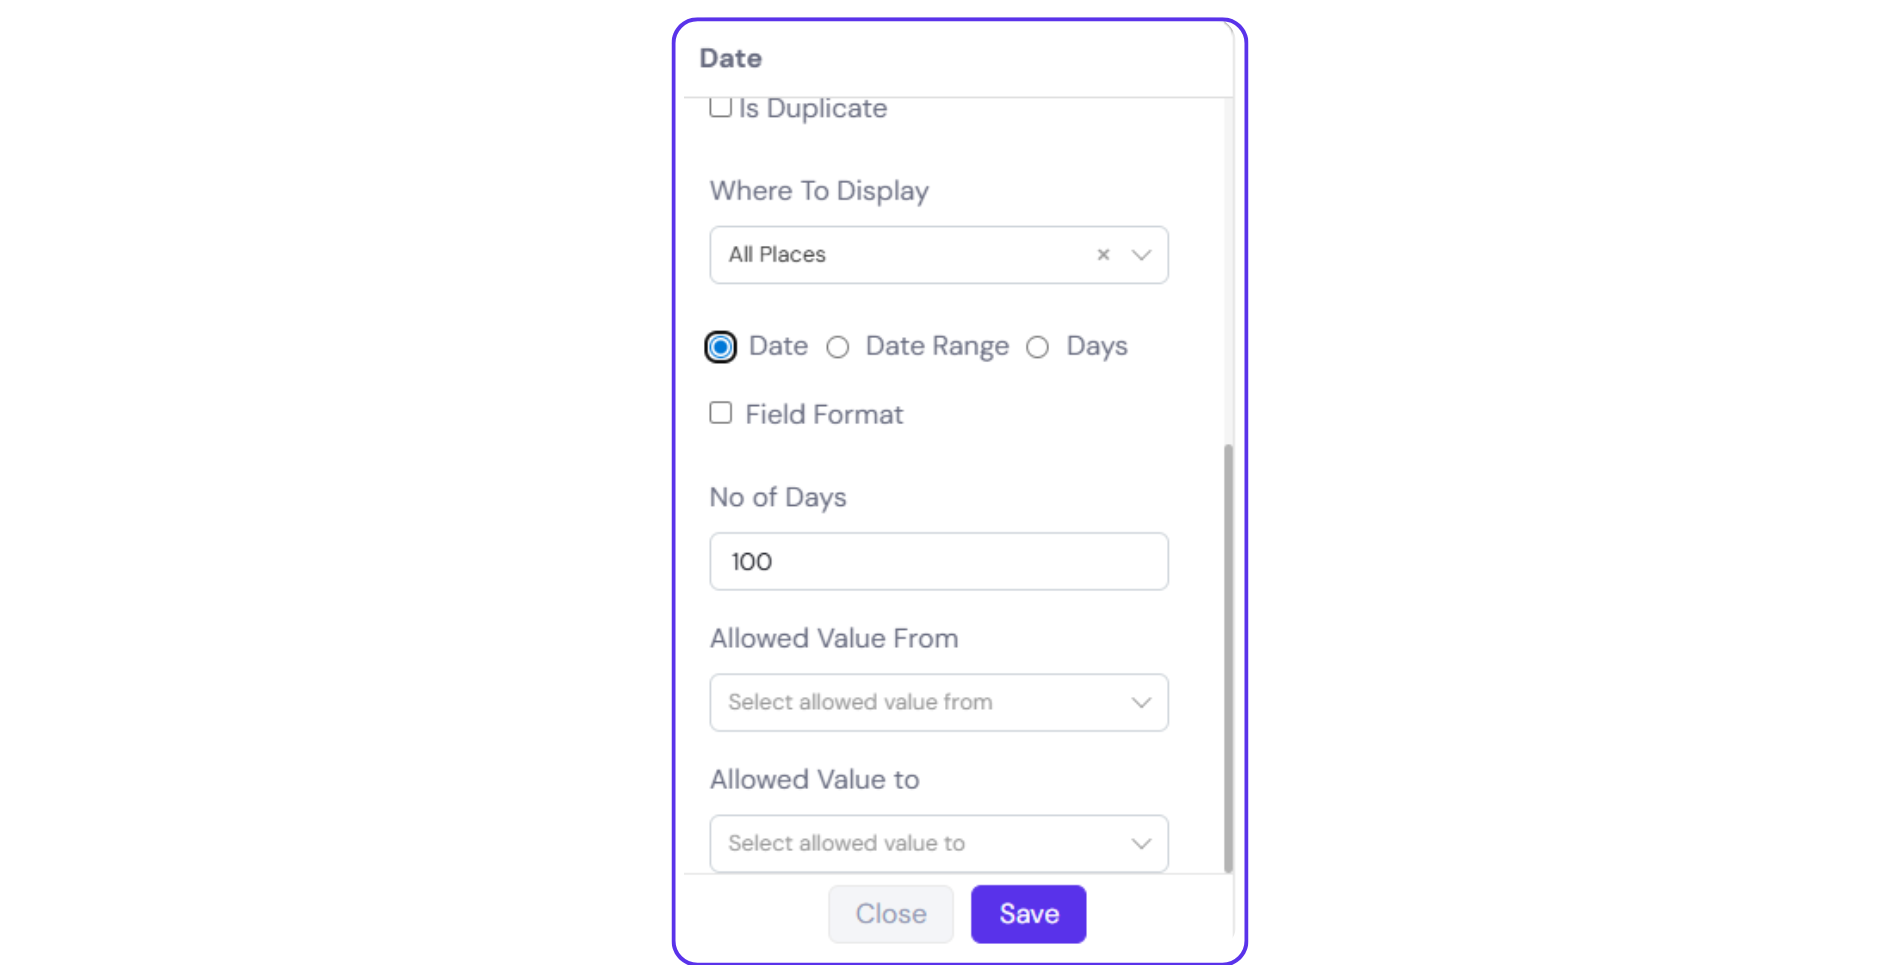
- Set reminders only on fields of type ‘Date’ or ‘Date & Time’.
- Even with the above-mentioned fields, reminders will not be available if you select ‘Date Range’ or ‘Days’ as the date type.
How to Set a Reminder:
Select a module → select an object → locate a ‘Date’ or ‘Date & Time column’ → click the vertical ellipsis (⋮) icon in the column header → select ‘Reminder’.

In the Reminder Settings Panel:
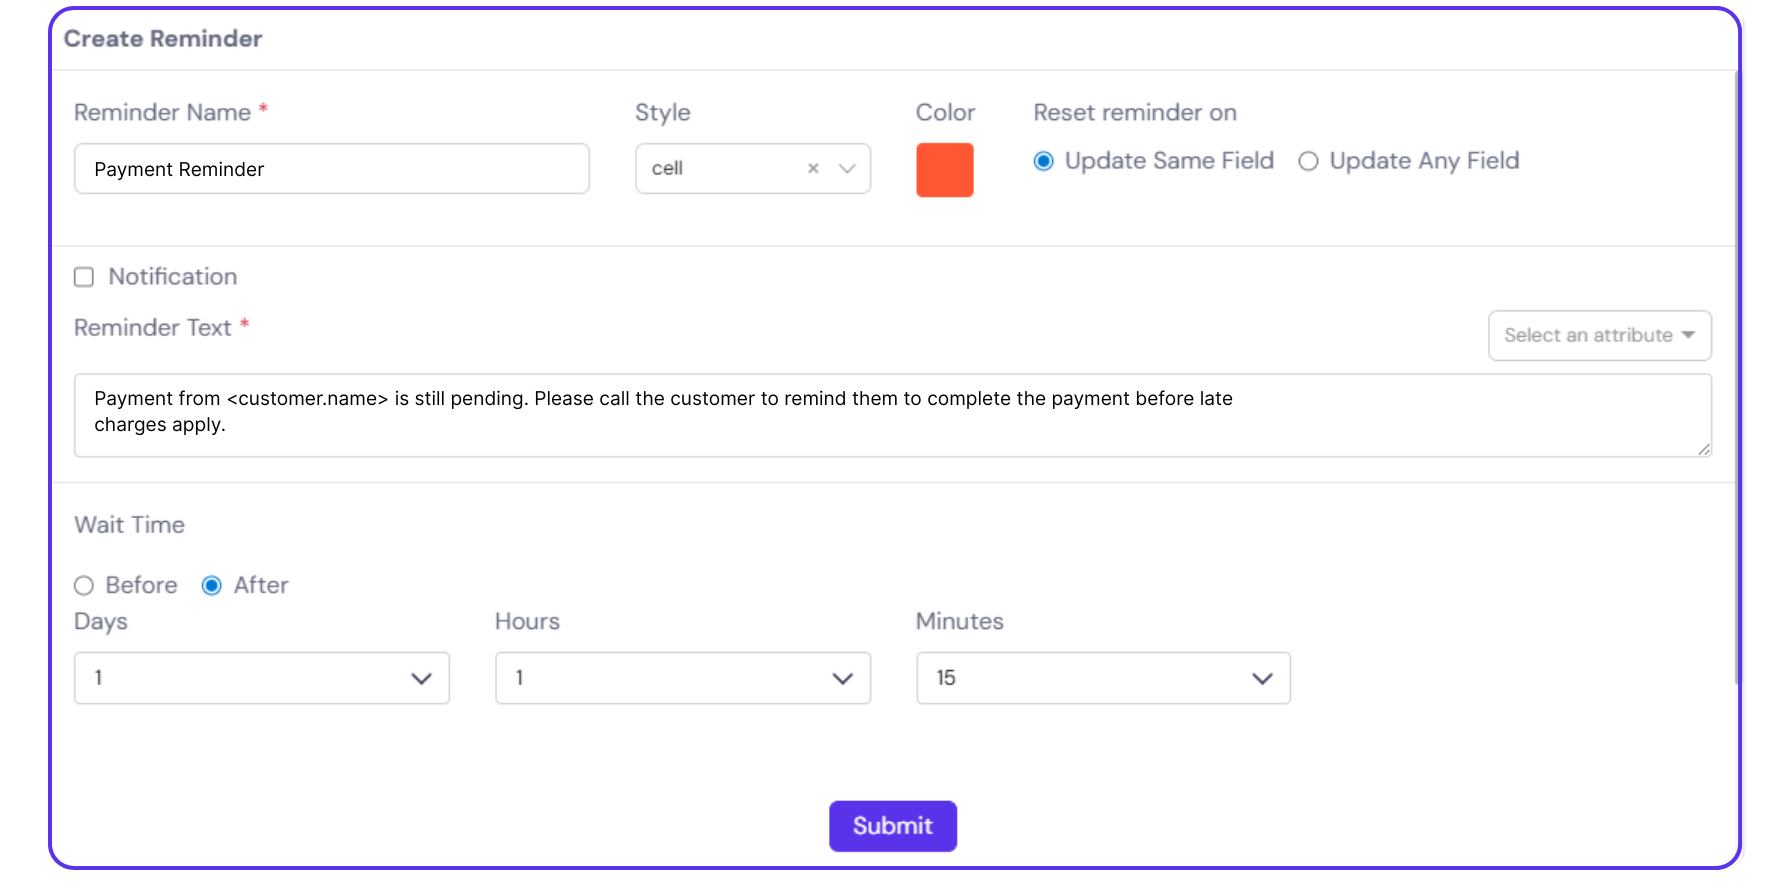
Step 1: Give your reminder a name.
Step 2: Choose a style (cell/row/text) and color:
- Cell – the selected color will be applied to the background of the specific cell.

- Row – the entire row will be highlighted in the selected color.

- Text – only the text within the cell will appear in the chosen color.

Step 3: Use the ‘Reset Reminder On’ setting:
- Update Same Field – resets the reminder when the same date field is modified.
- Update Any Field – resets the reminder when any field in the record is modified.
Step 4: Add a message in the ‘Reminder Text’ field. You can also click the ‘Select an attribute’ button in the right corner to input any dynamic value to customize the reminders.
Step 5: Set up notification:
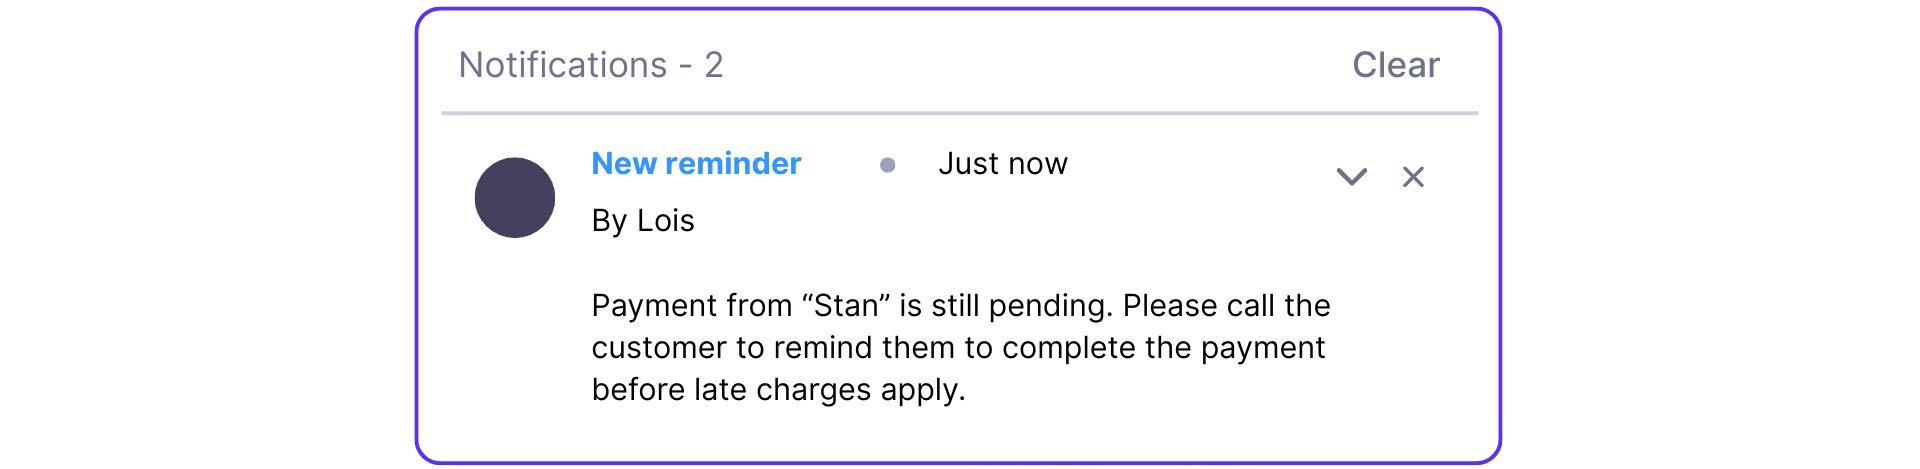
- Reminder With Notifications – enable the ‘Notification’ checkbox to receive a timely in-app alert containing the same message entered in ‘Reminder Text’.
- Reminder Without Notifications – leave the ‘Notification’ checkbox unchecked if you do not wish to receive an in-app alert.
Step 6: Define the Wait Time:
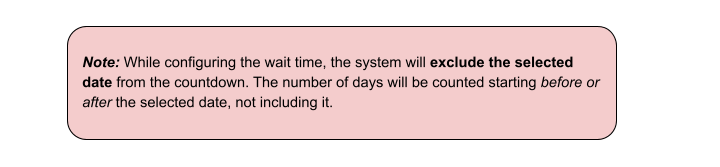
- Before – The reminder will activate before the selected date by the specified number of days, hours, and minutes, excluding the selected date itself from the count.
Example: If the selected date is July 20th and the wait time is set to 2 days before, the reminder will trigger on July 17th.
- After – The reminder will activate after the selected date by the specified duration, excluding the selected date from the count.
Example: If the selected date is July 20th and the wait time is set to 2 days after, the reminder will trigger on July 23rd.
Step 7: Click ‘Submit’.
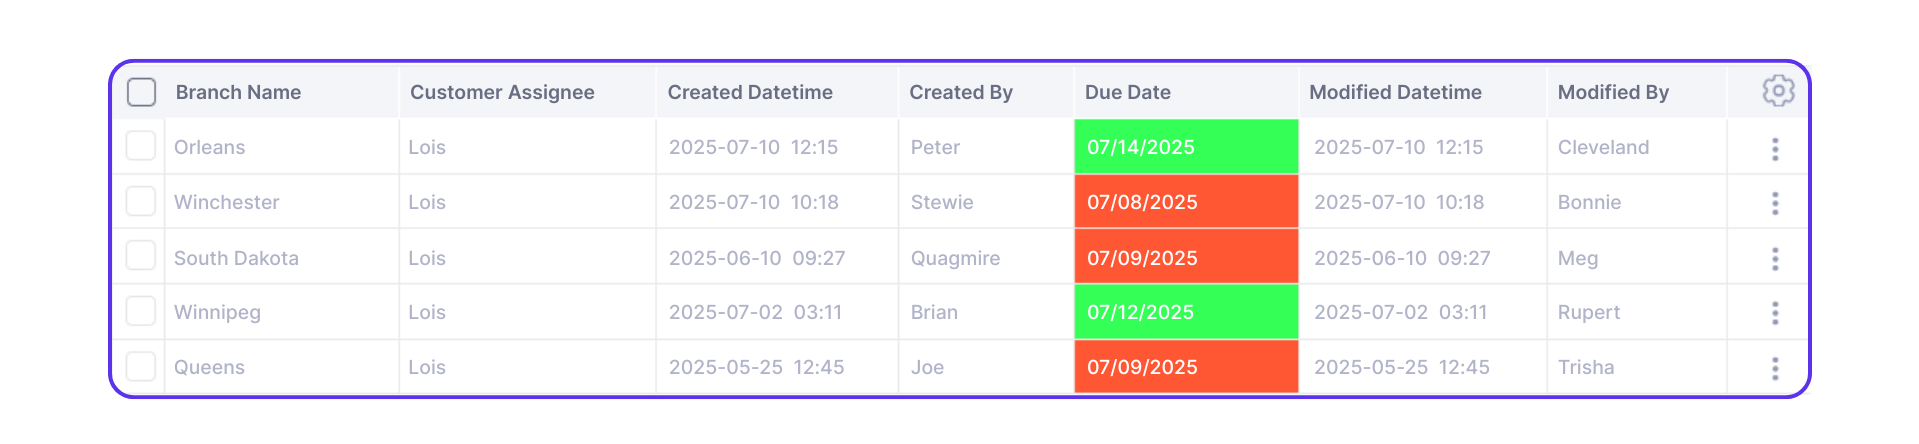
Once configured, the selected color will highlight only those records that have an upcoming reminder, offering a visual cue for timely action.
Notifications:
Keep users informed in real-time by sending notifications triggered by key updates, status changes, or field value modifications within your objects.
How to Create a Notification:
Follow the steps below to create and configure a notification:
Step 1: Access the Notifications Panel
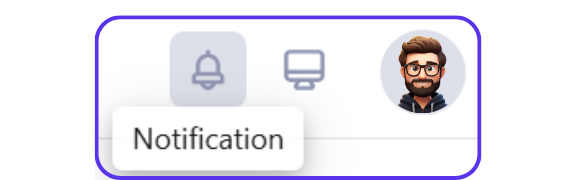
- Go to the top-right corner of the Office24by7 platform.
- Click on the bell icon to open the Reminders & Notifications panel.
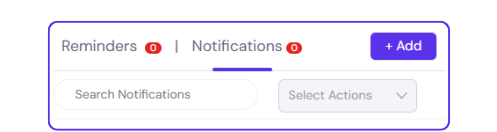
- Click on the ‘Notifications’ tab.
Step 2: View or Add Notifications
- You will see a list of notifications that have already been created.
- To create a new one, click on the ‘Add’ button.
Step 3: Configure the Notification Rule
- Enter a Notification Name.
- Select the Object where this notification should apply.
- In the Field dropdown, select the field you want to track.
- Choose the appropriate Condition (e.g., is, is not, contains, etc.).
- Enter the Value that will trigger the notification.
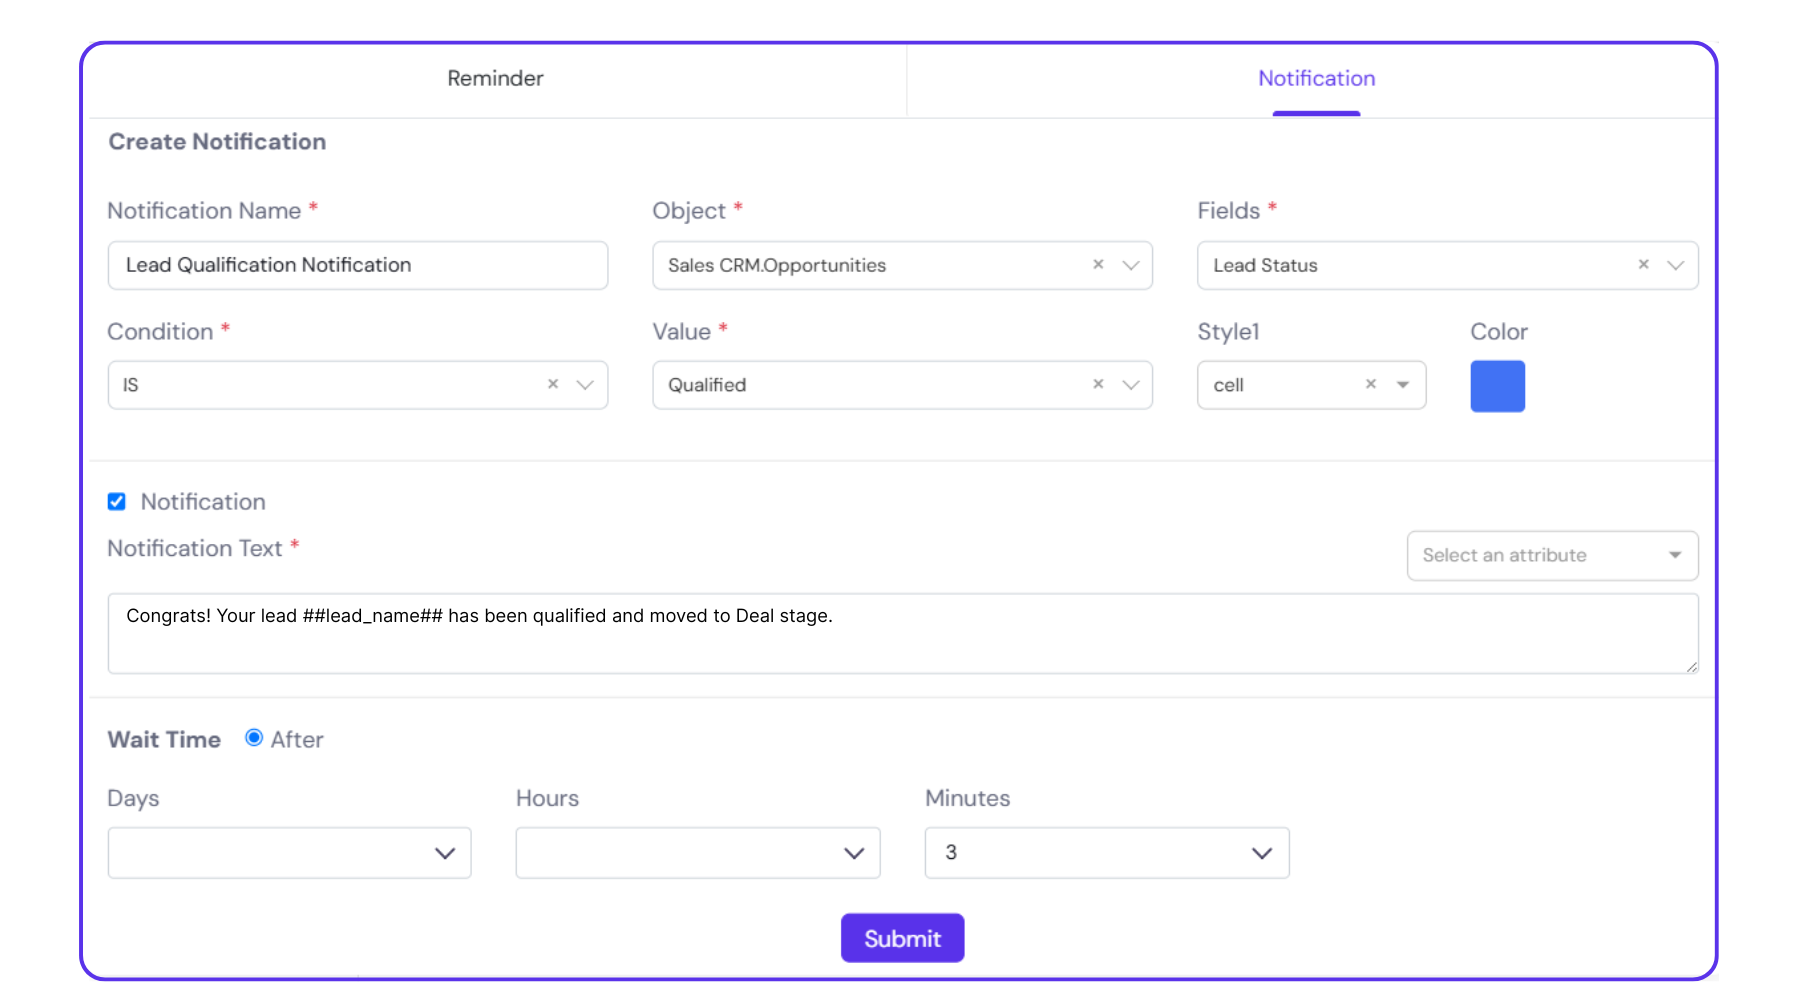
Step 4: Define Notification Style
Choose a Color to visually highlight the notification. Select the Style of the highlight:
- Cell – applies color to the specific cell
- Row – applies color to the entire row
- Text – changes only the text color
Step 5: Add Notification Message
- In the ‘Notification Text’ field, enter the message to be displayed in the in-app notification.
- You can also click the ‘Select an attribute’ button in the right corner to input any dynamic value to customize the reminders.
Step 6: Set a Delay (Optional)
- If you want the notification to appear after a certain time, go to the ‘Wait Time’ section.
- Choose ‘After’ and select the Days, Hours, and Minutes from the dropdown.
Step 7: Click ‘Submit’ to save the notification.
You will now see that the notification appears in the bottom-left corner of the platform interface when triggered.
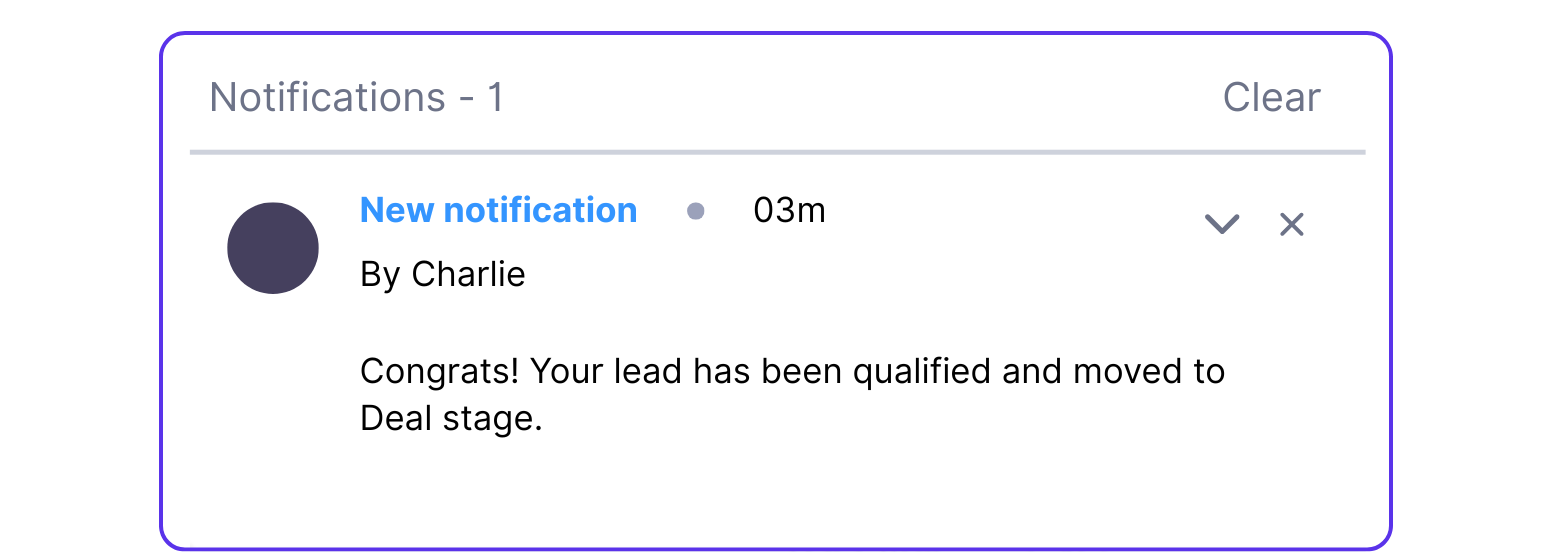
Note: The name of the user who created the notification appears on top of the notification panel in the format “By <user.name>”. In the example above, ‘Charlie’ is the user who created the notification.
Notification Recipients Logic:
- If the record contains an ‘Assigned To’ field with a user assigned, the notification will be sent to that user.
- If the ‘Assigned To’ field is empty, the notification will go to the user who created the record.
Note: Once configured, the selected color will highlight only those records that have an upcoming notification, offering a visual cue for timely action.